Monday Morning Mixed Media
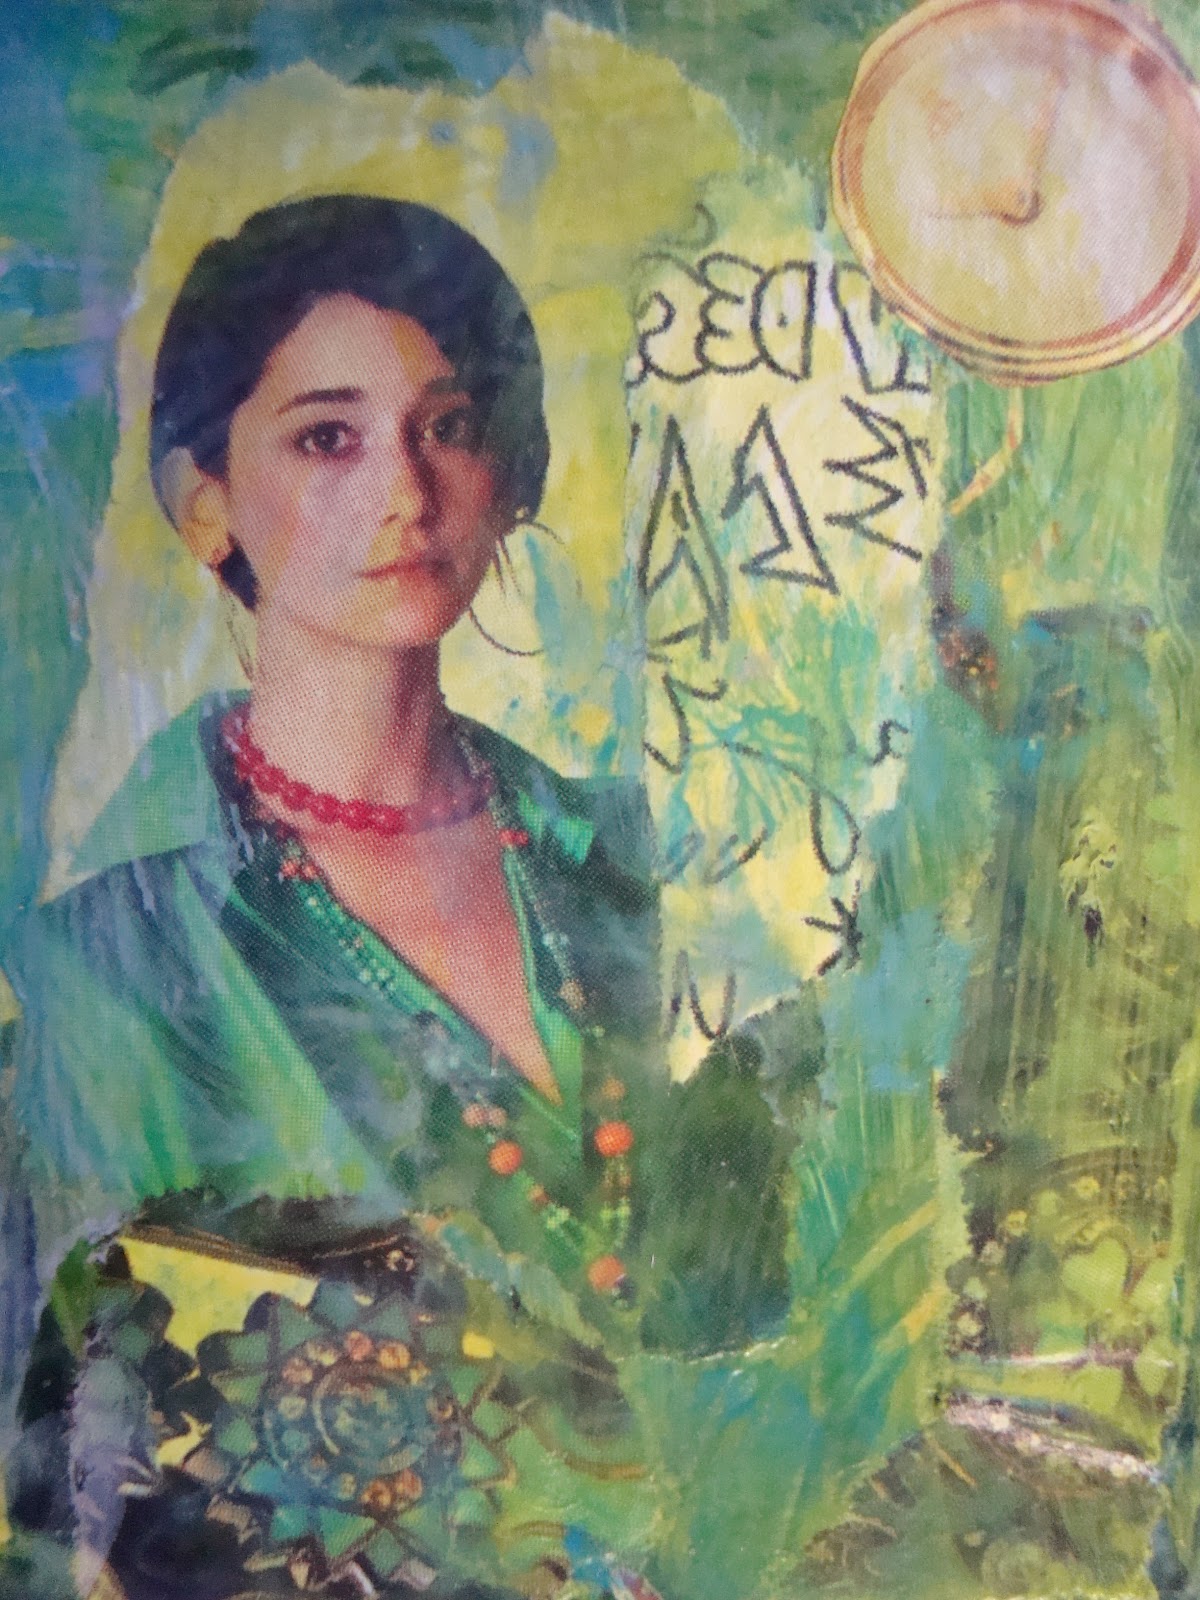
Meet Your
Muse
Creative Surfaces and Background Tutorials
1. Molding Paste Tools and Textures
2 Paintings with Acrylics and Mediums Color over Color Glazing
3. Collage and Magazine Layering and Spontaneous Design
4. Fanciful Lettering Drawing and Zen Doodling
5. Stamping, Printing and Creating with Found Objects
8. Creating with Thick Paint Scratching, Carving and Drawing through Impasto
9. Layering with Tracing Paper Tracing,
Drawing, and Transferring. Adding Layers to Create Dimension.
10. Altering Imagery , Creating with a Brillo Pad and Magazine Pages Negative Painting with
Citrasolv


+(338x600).jpg)